Well, the end is nigh! In a good way though. Once you’ve finished part two of the table top build the rest if very simple!
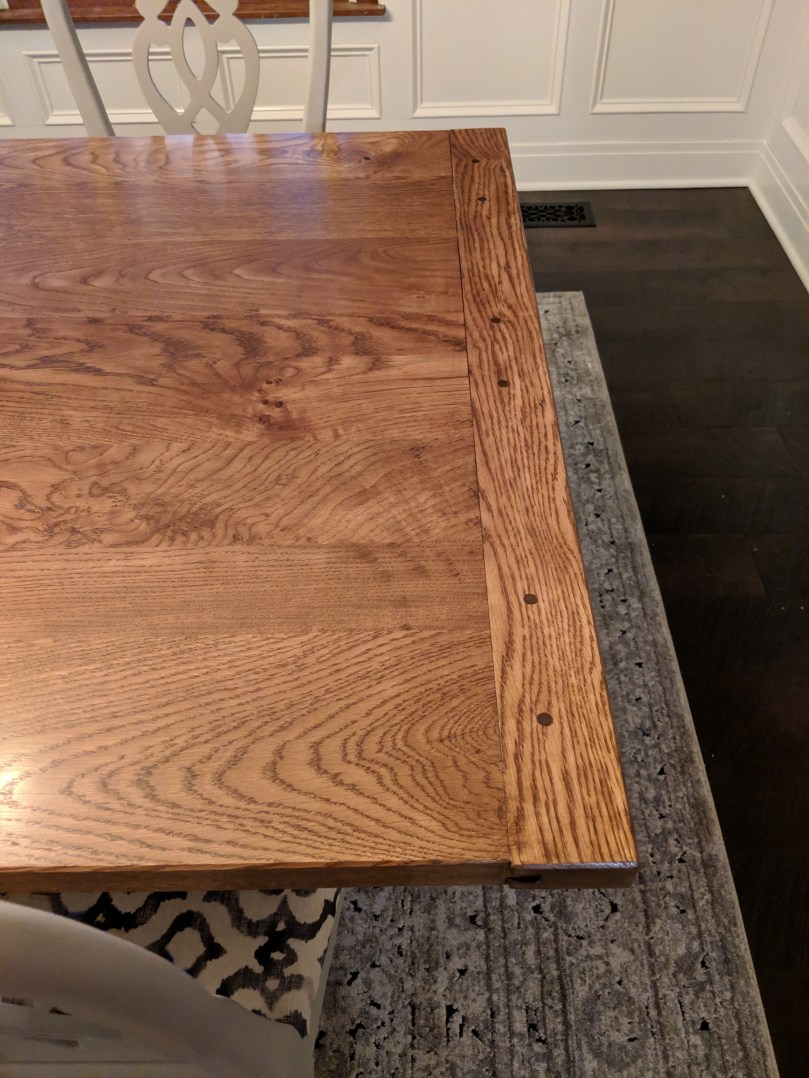
Start by using a chamfer bit to get a 45 degree profile on all of the corners. This will reduce the sharp edges, and give the table an elegant edge profile. I used this great cordless trim router I got for Christmas, but literally any router will work. If you’ve managed to make it this far in the build without the use of a router at all (wow, serious kudos if so) then just use a block plane to add the chamfer. Sand everything down to a universal smoothness, starting with 80, then 120, the either 180 or 220 grit (this will depend on wood type and stain type, a whole separate blog post on its own…).
Vacuum everything, then apply stain. I used General Finishes Antique Oak, in a water based formula. This causes it’s own unique issues, since the water in the stain will raise the grain some. You can either 1) wipe the whole table down with a damp cloth, let dry, then sand to final grit again (essentially pre-raising the grain) or 2) apply the stain, apply sanding sealer, then sand. I went with #2.
The shellac based sanding sealer does two things; it helps protect the stain from being removed when I lightly sand the raised grain off. It also keeps the Aquacoat (see below), which is water-based, from reactivating the stain.
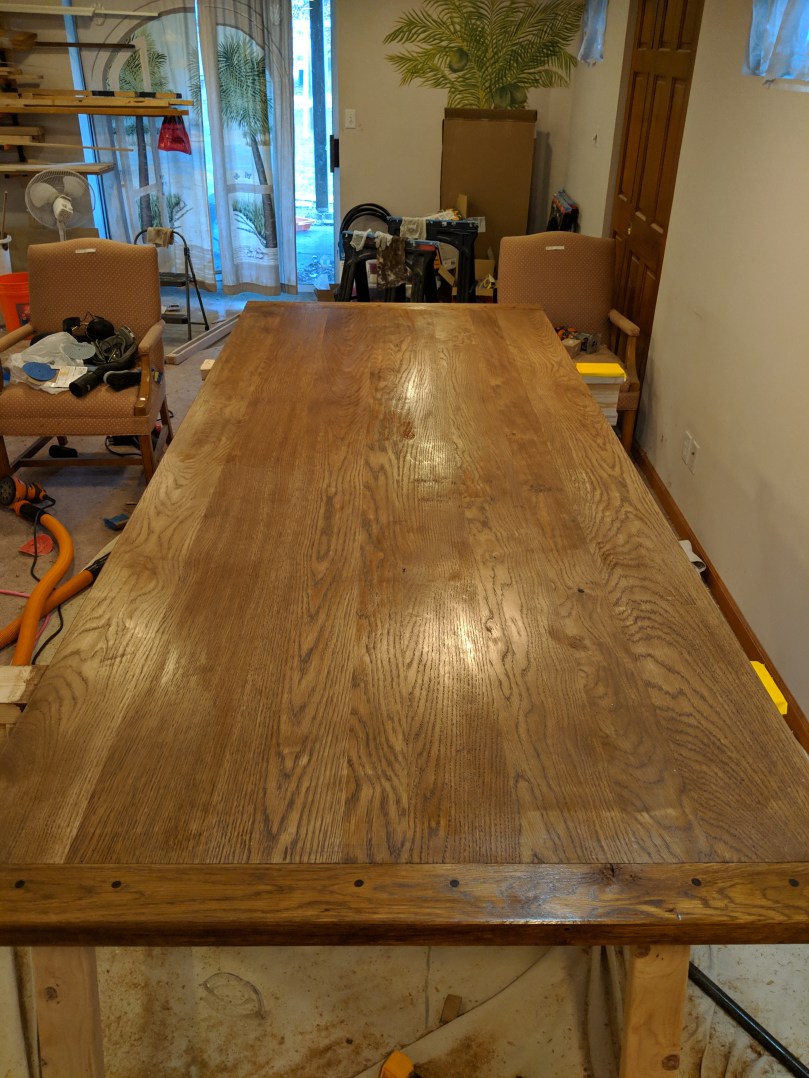
For the finish, I elected to do multiple steps, in an attempt to reduce the rough texture you can get from the coarse grain of oak. To do this, I opted to use Aquacoat clear grain pore filler. Lightly scuff sand the table after both coats of shellac go on with 220 grit sandpaper. Apply Aquacoat to directions on the container. I did two layers. If you use a less grainy wood, like Maple or Cherry, this step won’t be necessary.
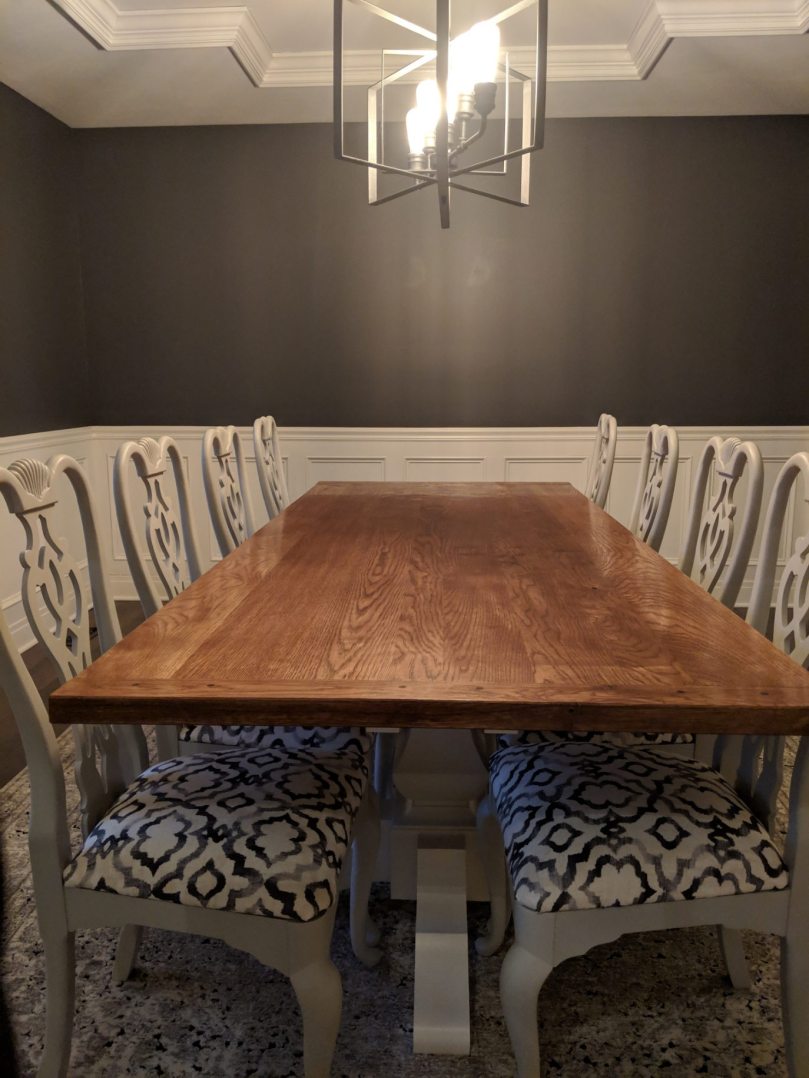
After the Aquacoat, allow to dry for a minimum of 72 hours before applying an oil based finish. Finish with a three coats of General Finishes Arm-r-Seal.
You’re remember that the frame looks like this after being built:

On each of those four short braces, we’re going to put four figure eight clips. These clips allow the table top to move freely as the seasons cause it to expand and contract. Mark out four spots on each beam, far enough into the taper that a 3/4″ #8 screw can go in. I chose to put all 16 fasteners facing the space between each set of beams so they won’t be seen. Use a router or forstner bit in a drill to make a small 3/4 inch diameter cutout that is the depth of the figure 8 clip. Predrill holes, and fasten them to the table base and table top!