
I’ve taken a somewhat minimalist approach on this post, because I’ve covered a lot of these topics before. To build the table top, we’re going to start with 8/4 lumber. I chose white oak, in part because of the cost (relatively less expensive) and in part because I am a big bourbon drinker, and like the idea of using its signature coopering wood in my build! As a bonus, it makes the shop smell fantastic after you work with it; it’s like walking into a rickhouse!
If you start with 8/4 rough lumber, you’ll need to do the same steps we did for the hard maple frame in the previous post; joint one face, plane the other side parallel, then joint the edges perpendicular to the faces. I was shooting for 1.75″ thickness, which would leave a quarter inch to sand and surface the table top once everything was all glued up. My final thickness will be 1.5″.
If you don’t have access to a jointer or planer, buy S3S or S4S pre-surfaced lumber, and use a hand plane to joint the edges. You want them as flat and squared as possible. This will ensure a solid glue joint. After laying out the boards for the appearance you’d like, use this method to joint the edges.


Once you have the board layout together, it’s time to prep for gluing. I made some custom 48 inch sawhorses to support the whole thing using this guide. I then put some duct tape on the top to keep the boards from sticking to the sawhorses. 
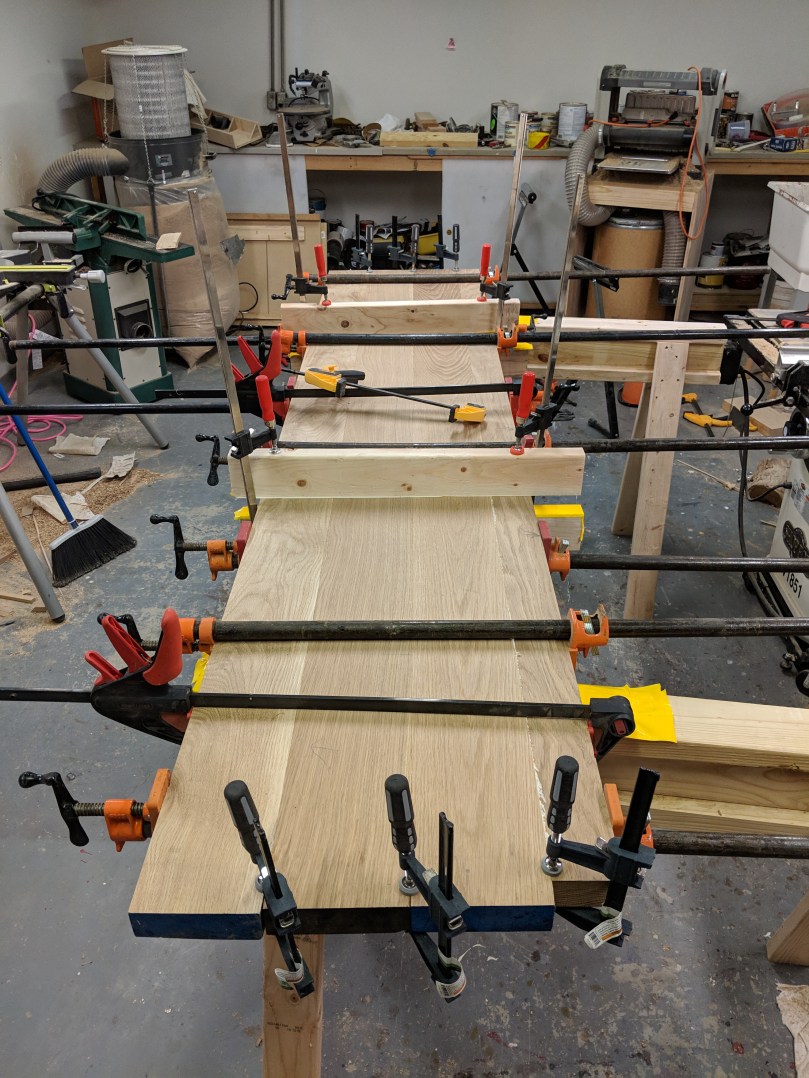
Now it’s time to clamp. While my pipe clamps are five feet long and I could technically clamp the whole table top in once piece, I decided to do it in two pieces. Doing two, ~20 inch pieces would allow me to send it to my local lumber yard, where they could flatten each piece and sand it down to exactly 1.5″ on their 36″ drum sander. For those who don’t have access to a service like this, I’ll cover some other options later. After I get the two pieces back, I’ll only have one glue seam on my final piece as I join those two pieces, which can be easily flattened with a hand plane.
Spread a good, quality wood glue like Titebond 3 on the edges, using an acid brush or foam brush to make sure you get a nice, even layer.
I used cauls to help keep the top as flat as possible. Essentially, you tape two pieces of wood (I used 2×4 scraps) and flatten one side each. Then, clamp them down to the table top to keep everything flat. Pipe clamps do the majority of the work providing pressure for the glue up. I got 10 of these Pony clamps for $125 with the pipes, which is a ridiculous Craigslist find. The guild also has a bunch of clamps I could have used.
Follow the directions on the glue bottle, but leave this clamped for at least an hour, if not more. When the glue is kind of tacky, use a cheap chisel or metal scraper to remove the glue that squeezes out.
