AUTHORS NOTE: The first time I published this, I wrote solely on how to do this using machinery that I had at my mentor’s house. I realized, afterward, that part of why I started to write this blog was to make these projects more accessible. So, I have now added italicized instructions which clarify how to accomplish these items without access to expensive machinery.
First and foremost, sorry for the long delay between posts. I haven’t stopped working, but the projects have been household maintenance related (and puppy training related!).

Just in time for the holidays, I’ve started the building process for our new dining room table. I used several different styles as the overall inspiration for this table. It’s somewhat influenced by the farmhouse style, in that it will have a large, thick slab of wood for the top instead of a thinner top with aprons on the side, like a more traditional table you’d see.
We want a table that can regularly seat 8 people, but could expand to 10 when necessary. Our room is about 14′ long by 12′ wide, so we decided to go with a 40″ x 96″ table. For the height, we’re going to be right at 29″ tall, which is about standard. To make sure this was the right fit, I cut a sheet of plywood and placed it on some sawhorses in the room.


It’s huge! But in a good way. And, actually, it fits pretty well within the normal spacing parameters. The long sides are each 50″ from the walls, and the short sides are right at 30″. Everything I found recommends 36″ to allow for chairs and room to move. Since we won’t regularly seat people on the ends, I’m not worried that we only have 30″ there. That also leaves us 14″ for a china cabinet on the right wall, which should be just about right for my grandmother’s cabinet we will be using in the future.
I have been very, very lucky to be paired with Donald Turner as my woodworking mentor through the St. Louis Woodworker’s Guild. Don has been a great resource for design, construction, and technical advice. He’s helping me take my idea and make it reality, and I can’t be more grateful. The entire frame building process took place at his shop, which makes mine look puny! Here’s the design he helped draft based on my ideas: Pedestal Table 2D design
For the table base, I’m using this kit from Osborne Wood Products. I ordered it in soft maple, since we’ll be painting the entire base and frame. We also opted for the “extended” version that is a little longer and includes a third leg on each pedestal. If you were going to make your table smaller and sit people on each end (say, a 72″ by 36″ table) you’d probably want to opt for this kit.
The top of this table is going to be solid white oak, 1.5″ thick. My best estimate is it will be about 200 lbs. Strength is key here, and it’s better to overbuild. I could use oak for the frame, but the grain would be difficult to hide. The base is soft maple, but I don’t think that’s really going to be strong enough for the frame pieces. On Don’s advice, I opted for hard maple. It’s strong, cheap(ish), and paints well. I purchased it rough cut in 8/4 from WunderWoods in St. Charles.
If you don’t have access to a jointer and planer, consider buying S3S or S4S presurfaces 8/4 lumber. While it won’t be perfectly flat, it will have most of the work done, and you can clean it up with a hand plane.

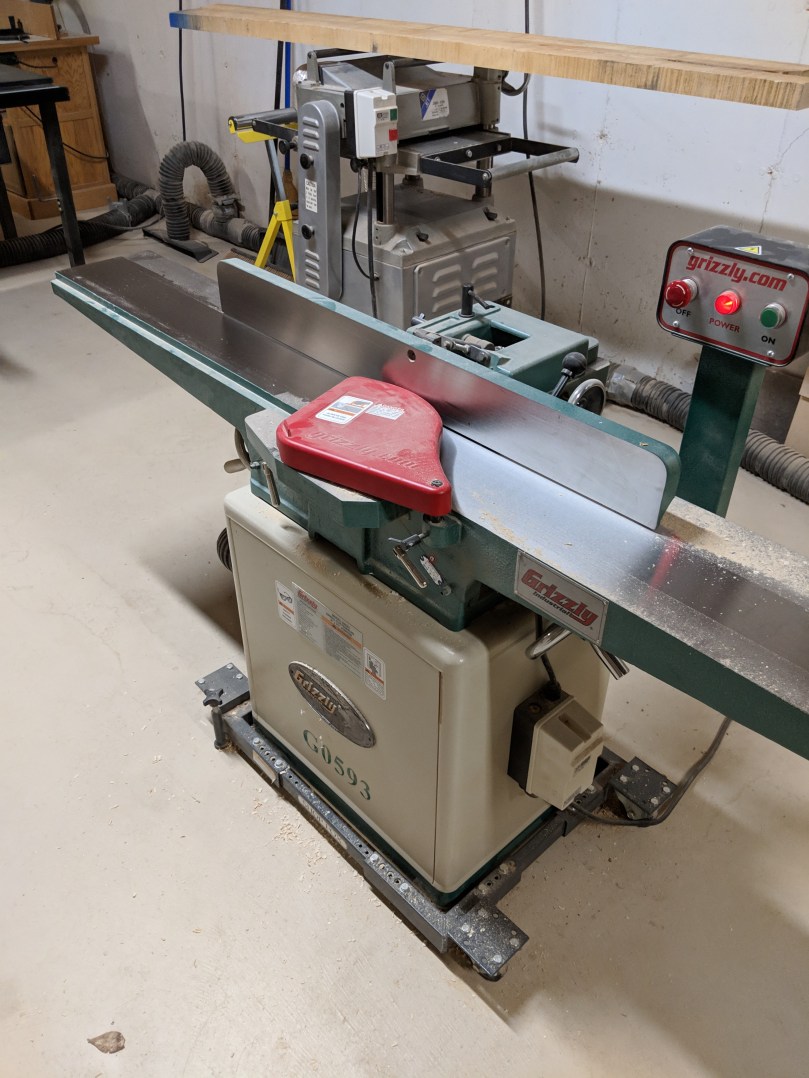
Since it’s rough cut, the first step is to establish a flat side. That’s a job for a jointer. Don’s jointer makes mine look like child’s play.
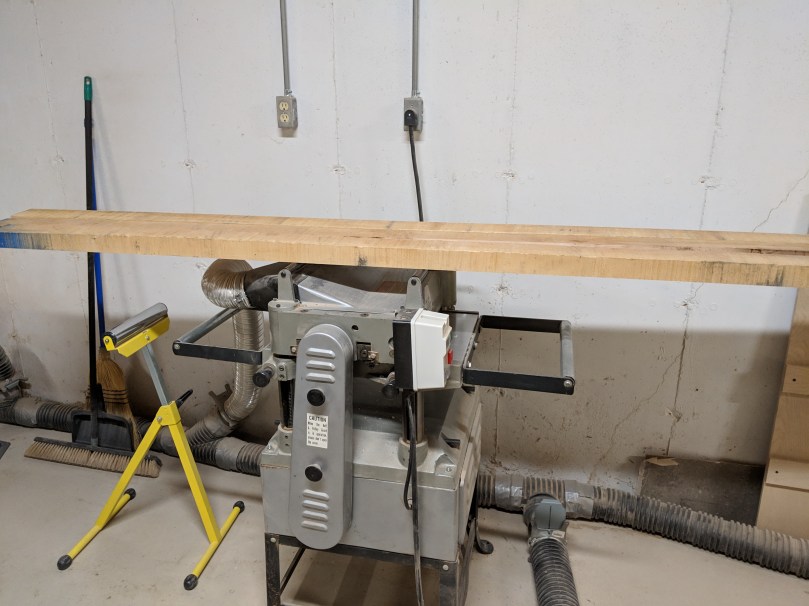
Once we established a flat side, we can use the planer to make the opposite side completely flat and parallel.

We took the thickness down to 1.75″. We then ripped the pieces to 2.5″ widths, and cut them down to final length on the miter saw. The two long stretchers were 90″ and the four shorter stretchers were each 34″.
We’re using a half lap joint to build the frame. This will make a strong frame that can be easily assembled. It’s also a relatively simple joinery technique. The top of the pedestal is 8″ wide, so we laid out the spacing for each lap joint accordingly.

Set the table saw to exactly half the width of the board, then cut through it in multiple passes (pictured below). Use a miter gauge or crosscutting sled on your table saw to do this. You could also cut it with a handsaw, bandsaw, or even a jig saw. Just make sure you’re consistent. Use a chisel to remove the waste.


To cut the taper, we marked the line with a pencil based on the design Don drafted. Then, we cut about 1/16th inch off that line on the bandsaw, and used the jointer to clean the edge up.
In absence of a bandsaw, use a straight edged piece of MDF to guide a circular saw to cut the angle, similar to how I’ve cut sheet goods in previous posts.

I forgot to get pictures of the next step, but hopefully a written explanation should suffice. With the frame on a table, bottom side up, place the pedestal (bolt side down) onto the frame. Align the pedestal with a square so that the sides are flush with the frame, then mark where the bolts touch.
Using the smallest bit you have, drill a small pilot hole through center of the spots where the bolts were marked. We used a drill press to ensure the holes would be square, but you could get away with a drill guide like I’ve shown previously.
Turn the pieces over, and using a forstner bit (on a drill press) or spade bit (on hand drill), make a hole large enough to receive the washer that came with the kit, and drill about halfway through the wood. Then, drill out a 3/8 inch hole through both sides where the bolt will go through.
The picture below is how it looks when assembled. I sat on it, and it had no problem handling my weight. We don’t plan on gluing any of the half lap joints; the bolts should pull everything together, and it will be easier to move if it’s not glued.

