Interim mystery project!

While I’m planning out and starting on the nightstand set to match the bed, I’m taking on a small project in the interim. It will be made with persimmon wood, an incredibly hard wood from the small fruit tree native to the U.S. and a relative of ebony. Can you guess what it is?

I bought this in rough sawn for from a guy I found on Craigslist who owns a tree cutting service and mills some of what he cuts. Persimmon can be very difficult to find, and the trees are small. As you can see, there’s not really a straight reference edge on this, so we will need to make one.

Lay a long straight board on it so that you maximize the workable area and minimize waste. Then, using the circular saw technique we used for the bed, saw this line.

Now we have a straight reference line. Run it on your table saw to make both sides parallel. I also used my mitre saw to chop the bit of rot off this side.

Now to begin planing! You can do this by hand, but I really just did enough to clean it up. I intend on taking it to the Woodworker’s guild shop and running it on a jointer and planer to true everything up.

Stay tuned!

King Size Bed: final steps and finished product!

We’re almost there, just time to put the finishing touches on.  The first thing I did was connect the headboard, footboard, and siderails just to make sure everything worked as planned.  I had to use a flat head screwdriver on a couple of the metal brackets to bend them out a bit more, but otherwise everything worked really well.

Adding the center support, at this point, is easy.  Measure from the top of the siderail to the top edge of your poplar board; that’s tells you how low your center support needs to be.  Mine was 1.75″ from the top.  Since my siderails were 20″ off the floor, I know that my center support needs to be 18.25″ up from the floor.

These center support brackets from Rockler worked really well, with slight modification.  The screws included are woefully inadequate.  I purchased some 1″ #6 wood screws instead, which work with the bracket without interfering with the connections.  #8 were too big.

The bracket accepts 2x material, so I took a yellow pine 2×6 I had sitting around and ripped it down to match the width here.  Mark 14.25″ up from the bottom of the footboard (since the footboard sits 4″ off the ground) and attach it on center.  You can see an extra set of holes on mine…well, I mistakenly measured from the top of the headboard to the top of my slat spacers (pictured below) the first time.  Learn from my mistakes!

Once that’s together, you want to create two support legs to go under your center support.  Use whatever you have in your shop.  I decided to take some more yellow pine, screw two pieces together to add some thickness, and then notch in a spot for the center rail.  The measurement for the leg height should be the same as how high your center bracket is; 18.25″.

Consider where the majority of your “load” will be when placing the legs.  Very little at the foot, more at the head and center.

Now, purchase around 13 1×4 boards and use these as support slats.  No special wood here, just Home Depot “white wood” which means either spruce, pine, or fir generally.  The board pictured above is poplar; I used it because I had extra.  Cut these to match the width between rails (77″ in my case) and then glue in some spacers between them to make sure they don’t move.

Another lesson to learn, add some room between the spacers and the board as just a little bit of expansion security.  I didn’t, but I also don’t think it’s going to be a big issue in this application.

Lay all the slats on the bed like so:

If you were using a box spring, you wouldn’t likely need the extra slats, just the center support.

And here’s the finished product!

I have so many people to thank for help on this project, not least of which my wife and children for giving me time to work on it when I needed to.  And for the rest of my family. all those tools you’ve been giving me as gifts for years were put to good use!

Alder lumber was purchased from St. Charles Hardwoods.  The plywood was from U-Pick Hardwood Lumber, who was the only one that could do such a small order of half inch alder plywood in my area.  BIG thanks to the Reddit r/woodworking community who really helped me plan a lot of these joints and fielded many questions.

Returning to work

After a nice long vacation to the Caribbean with my wife, I’ll be returning to working on the bed this week. I expect a post around Thursday. Though we have some beautiful wood available in the US, it was awesome to see the forests of teak, mahogany, and other exotic woods in Central America. I’ve got a piece of driftwood I pulled from the ocean I plan on finding a creative use for soon too.

Tools for the Task

Originally, I’d thought about waiting until I was done with the entire project to be finished and uploading a single post explaining the entire build. The more I thought about it, the more I realized that I should probably make at least a few separate posts, as there are going to be some tools to acquire, and most people (including myself) will want some practice before they start in on the whole project.

My goal with this build (and every furniture build I do going forward) will be to use 1) as few tools as possible and 2) to use techniques that don’t require incredibly specialized machinery. However, since the focus of this blog is doing things BETTER, this will not be a situation where you can get away with just a circular saw, pockethole jig, and a cordless drill. If you don’t have a family member who has access to the tools I suggest, I HIGHLY recommend looking for a local woodworking guild, such as the St. Louis Woodworkers Guild. They can provide educational tools, guidance, and maybe even a workshop like the St. Louis guild offers.

Finally, many of these tools can be acquired on Craigslist (always be safe!), at antique malls, or in your grandparents attic. It’s a lot more fun to use old tools, and they’re often higher quality.

(I am sure I am forgetting some tools. If I do, I’ll talk about them in the post for that given part of the project. These are the major ones).

Necessary tools:

Table Saw: Because we are going to be working with high quality lumber for this project, and not construction grade lumber, we’re going to require a table saw. That’s because lumber yards sell hardwoods (and some softwoods) in random widths. This means one board of wood will be 6″ wide, one will be 4.5″ wide, etc. We’ll go over lumber selection in the next blog, but the key to getting uniform pieces is going to be using a table saw to rip everything down to width. If you absolutely don’t have access to a table saw, you MIGHT be able to get away with a circular saw if you use some kind of guide to ensure a straight line.

Miter Saw: Because we’re not cutting any complex angles on this project, you don’t necessarily need a massive compound miter saw. But you will need something that has a cutting depth of at least 3.75″. That means you’ll need a 10 inch blade, likely. Here again, you can get away with a simple circular saw but make sure to use a square or something to make nice perpendicular cuts, and you may have to cut from two sides to get through.

Router with Table/Base: Some of the joints we’ll be doing will require dovetails, and the paneling on the head and foot board will use a groove to set the panel into. The we’ll use a dovetail bit, and a straight bit. The table/base will have a fence on it that will allow you to make precise, straight cuts. You could probably create some sort of sled to guide the bits along the length of the boards if you don’t have a table, but I think this would be very difficult.

Chisels: OK, so the really expensive and bulky tools required are out of the way. But no less essential are the chisels. We’ll be cutting mortises, and chisels are going to be the easiest and cheapest way to do that, if not the fastest. Here’s a decent set from Harbor Freight, and here’s a video from Paul Sellers on how to sharpen them with just sandpaper.

20180115_210437.jpg

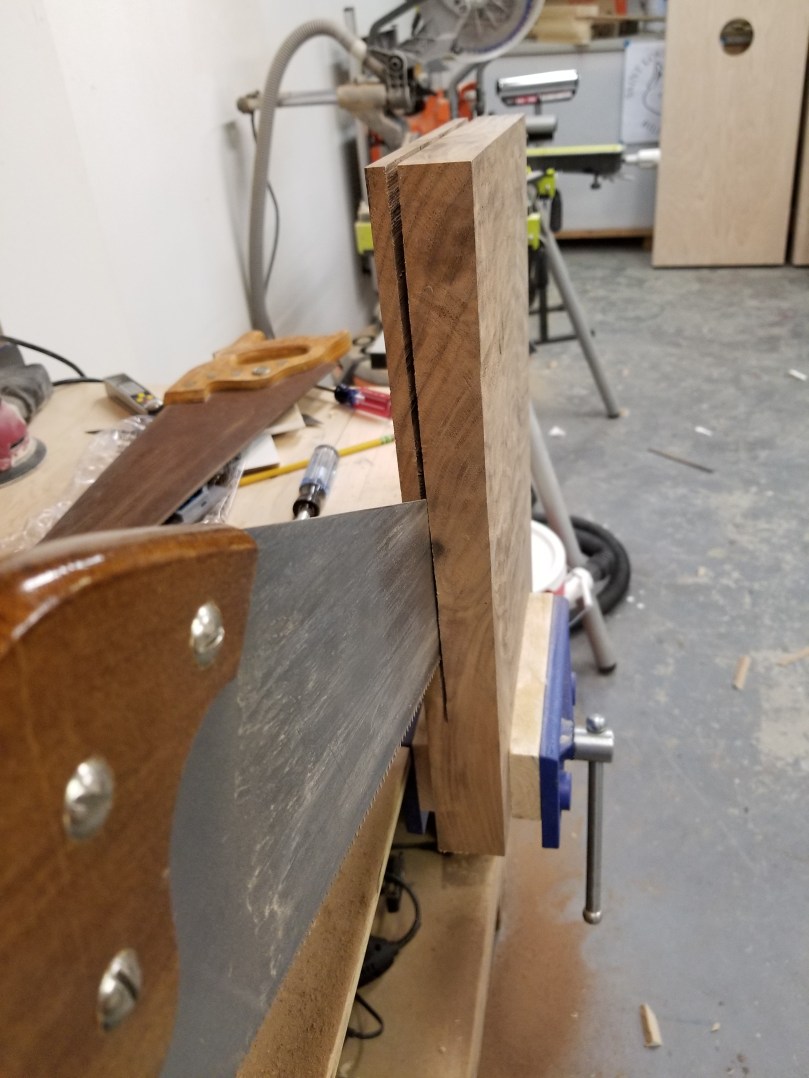
Hand Saw: We’ll be using plain old hand saws to cut some of the tenons on here. If you’re really dedicated, you could use hand saws in place of the miter saw too! That used to be the only way to do it (even hand ripping boards to width). Our tasks will be smaller. Here’s a small Ryoba saw from Harbor Freight that will handle both rip and cross cuts, and won’t break the bank.

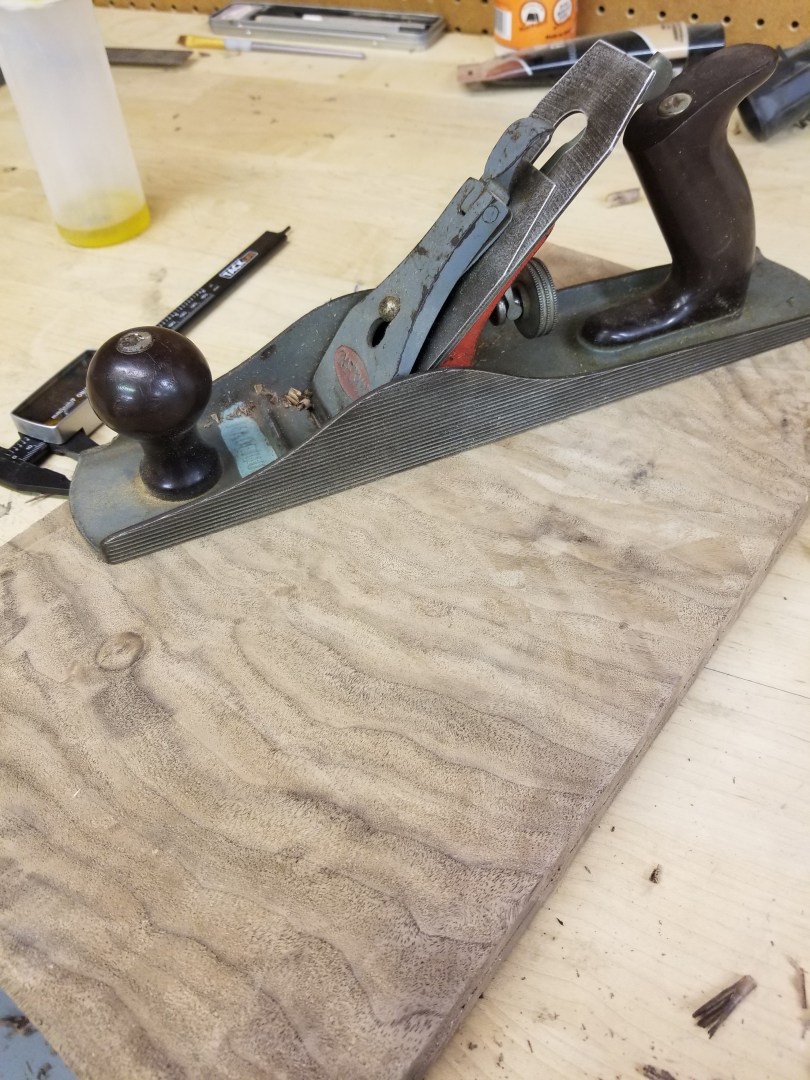
Hand Plane: You have a number of routes you can go with your hand plane choices. The most common would be like a #4 smoothing plane. I am lucky to have access to my grandfather’s #5 jack plane while he’s refurbishing one for me; it’s a really good, all around plane. Either way, older seems to be better than newer, and I recommend antique malls and Craigslist for finding these. If you have access to a power jointer (as I will once I take the safety class at the guild) you could probably skip this tool. But it’s such a great tool to have, you really should get one.

20180114_131228.jpg

Clamps: Clamps, clamps, clamps, clamps! We will be laminating wood together (easier than it sounds) and you’ll need a bunch of clamps. Don’t worry, they’re cheap and you never have enough. I recommend the screw type, you get more pressure. But use a few quick clamps just to get everything locked in place at beginning.

Power Drill: Corded, cordless, doesn’t matter. It will play a minor role. If it can drive screws and drill small holes, you’re set.

Safety Equipment!: I put it last, but not because it’s least important (it’s just not as sexy as the rest of the tools). You absolutely need eye protection, ear protection, and at least a cheap dust mask. If you’re working inside in a basement shop, you need to connect at least a shop vac to your tools. Sawdust is nasty stuff for your lungs, you can’t be too safe!

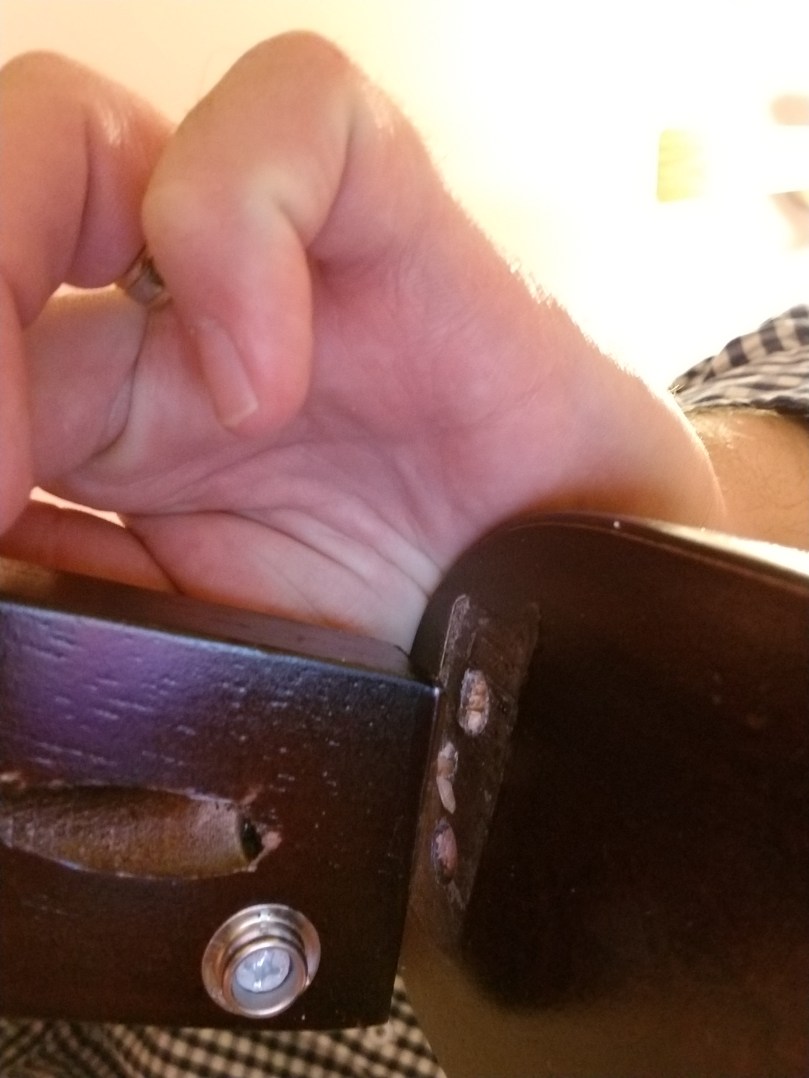
Misc others: Pencil, hammer, combination square, tape measure, sandpaper, wood glue, nails, stain of your choice, sealer of your choice (like a polyurethane). You will also need bed rail brackets from Rockler, I’ll talk about those in the post directly when we get there.

Optional Equipment:

All of these items will make your life easier, but you don’t necessarily need them. I’ll list them just as bullets, feel free to email if you need more info:

-Woodworkers vise

-Miter gauge

-Power sanders

Hand Brace with auger bit

First Project/Why start DIB?

I’m sure the question many of you are asking is “Why are you building your own furniture, and what’s wrong with the DIY plans I see online/Pintrest all the time?”

The answer to why I want to build it myself is easy: I love building things. I love woodworking, and I know that for the same cost (roughly) as a cheap bedframe made from fiberboard and fake veneer, I can have a solid wood bed that I’ll be proud to own for decades to come.

The reason I started blogging the process is a little more complicated. My wife loves the rustic look of a lot of the DIY furniture you see out there today, and I was drawn in through my research by the idea of easy-to-build projects. In fact, this is the bed that inspired my whole journey. The design is beautiful, and a huge upgrade for us since we just have a standard wire foundation for our king size memory foam mattress.

Now, I haven’t built that bed, and I guess as such I can’t really say that it’s a bad way to build furniture. What I can say, though, is there are many facets to that particular plan that definitely lend themselves to a sub-par furniture design in the long run. I didn’t know any of this when I started looking for plans, but I began doing research, asking questions, and looking for a way to do it better.

First and foremost, the use of construction grade lumber is not ideal. While the allure of 2×4, 1×4, etc. is that they are easy to find and come in uniform widths, the reality is they are called construction grade, and not furniture grade, for a reason. This wood is not dried to the same degree we’d expect for furniture. No big deal, right? Well, not at first. What will happen is as the wood dries, it will shrink. Then, in the summer when it’s more humid it will expand. All wood does this, even the best quality lumber. But since construction grade lumber isn’t fully dried, it will warp significantly more and considerably quicker as it acclimates to your home than a high quality lumber from a yard (more to come in future posts about going to the lumber yard!).

This issue will be compounded by the second problem with these plans: pocket-hole screws. Pocket-hole screws are great for a lot of things. They’re used in cabinets, toy boxes, etc. They are awful, in my opinion, for furniture joinery though. When you screw two pieces of wood together, you create a very inflexible joint. As the wood tries to expand and contract naturally through the seasons, the screws won’t let it and can cause disastrous results. I also worry substantially about the strength of a pocket-hole screw for a piece of furniture that will be used frequently. You’re talking about hundreds of pounds of weight between the mattress and the people on it. My experience with pocket-hole screws in our house has been less than stellar. The picture below is a pocket-hole screw on the arm of a rocking chair in my daughter’s room. This is the second arm where the screw simply snapped in half. Not my idea of strength.

Finally, as beautiful as that bed is, god forbid you ever have to move it! You’d have to undo at least 20 pocket-hole screws to get the rails off (which are only 3/4 inch plywood, also something I consider a strength issue).

We are going to solve all these issues by using high quality, lumber yard wood. We are going to use traditional joinery techniques including mortise and tenon joints and dovetails. And, we’re going to use some bed rail equipment that will allow the rails (which will be over an inch thick of solid lumber) to be removed easily.

Will this be a more detailed build? Certainly. Will it be more expensive? Unfortunately, yes. But, I’d rather build something more expensive that’s going to last for decades. I’m really excited to start this project and share it with you all.

Roubo bookstand

While I’m working on my first furniture build, I thought I’d provide a short overview of a recent project I did for those who visit this site. This is a folding bookstand, crafted from a single piece of walnut using only hand tools. It was designed by Andre Roubo in the 18th century, but I came across it on an episode of Roy Underhill’s show “The Woodwright’s Shop.

I started with a piece of 8/4 walnut, which is about 1.75 inches thick. I cut it to be about 16 inches long, and it came right at 9 inches wide which was perfect. I needed it to be about 1 inch, and though the lumber yard offered to plane it down for me, I opted to rip it myself since I could save the 3/4 of an inch for some future use. You could buy 5/4 lumber here (which is about an inch thick) and save yourself some trouble, but I really liked the figure on this piece so I opted to rip it down.

Slow and steady was the key to a straight rip. The saw I was using marketed itself as a rip cut and crosscut saw: that was not necessarily true. It’s definitely a crosscut saw, and this took forever. I upgraded to a cheap Japanese rip saw for the rest of it, and that went substantially better.

Next I had to plane the wood flat. Since this piece came from the crotch of the tree, the grain was beautifully figured. That also meant, though, that it was very challenging to plane. This is my grandfather’s Stanley #5 jack plane. You can find these at antique malls for around $25 and there are tutorials online (Paul Sellers’ is very good) about sharpening the blades using sandpaper.

Next, I had to cut out the section from the top that would create a small shelf piece. I measured 6 inches from the bottom to mark the lower half of the hinges, marked the hinges, then added about 3 inches for the shelf. Roy’s video can explain this better than I can. Roubo accomplishes this by creating two bookstand at a time out if one longer board, which Roy also explains in great detail.

Now for the fun part: carving the knuckle joints. I had a really handy acordian style tool that my wife gave me which marks out even intervals across the board, but Roy’s video shows how to do this with just a compass. I wish I’d gotten more pictures of the layout process, but this is my first blog so cut me some slack. The important thing is that you use an odd number of knuckles and clearly mark the parts which need to be carved out on each side.

To get the lines between the knuckles cut out, I used Roy’s suggestion and took a cut off hacksaw blade. I’m not going to lie, it was tedious. What ended up working a lot better was drilling the pilot holes, filing a coping saw blade down to a point, and finagling it in there until I could get the full blade through. Then, I used two pairs of pliers to pull the blade back and forth to cut the line out.

Next, I used a coping saw to cut the ogee out using Roy’s design. It was really easy on the bottom, but I couldn’t figure out how he did the top so I just improvised. If you’re not super dedicated to using just hand tools for this, use a jig saw.

Then it was time to rip the boards down to the knuckles and see if I could get it to open. See Japanese saw, pictured below. Harbor freight sells a Japanese saw called a Ryoba that actually has a well reviewed rip and crosscut blade on it, which I wish I’d know before buying this for twice the price.

It took a lot of tuning to get this to open. Some of the knuckles needed to be cleaned out more, in some places I needed to rip further. I had a couple unfortunate spots where the wood chipped off, a good lesson to learn for next time.

Here’s the finished product. I sanded at 120 then 220 grit after planing some of the saw marks off. I did use a power sander here, cause I’m not THAT dedicated to hand tools for this. I then wet sanded with tung oil varnish at 400 and 600 grit, and finished with spray on shellac. Still needs a final sand and one more coat, but my wife loved it!