Looking back on the last year and a half, I’ve done a LOT of fun projects. I’ve had collaborations with Osborne Wood, personal projects with exotic lumber, etc. But, looking back at the original purpose of DIB, I welcomed this next commission as a chance to tie in my custom business with the blog!
What if you don’t want ebonized, inlaid, or acrylic furniture? What if you just want some Pintrest-worthy “rustic-chic” furniture? If you’ve been reading my blog long enough, you’ll know there are tons of issues with how those DIY websites design and build their furniture.
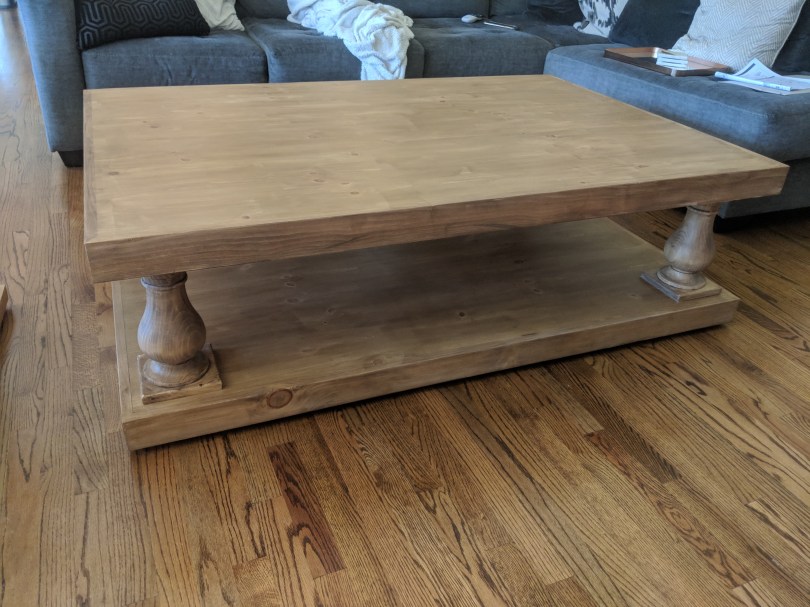
When my client asked me to build a table similar to this, I knew there were some things I would have to do to make the project last.
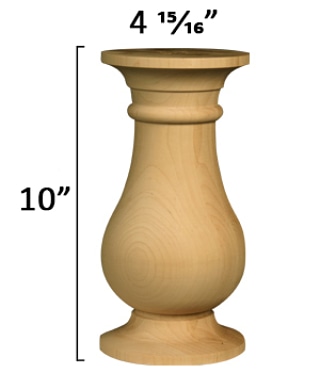
I used these legs for the coffee table and these for the end tables. They are “knotty” pine, which I was told is a white pine in their case.
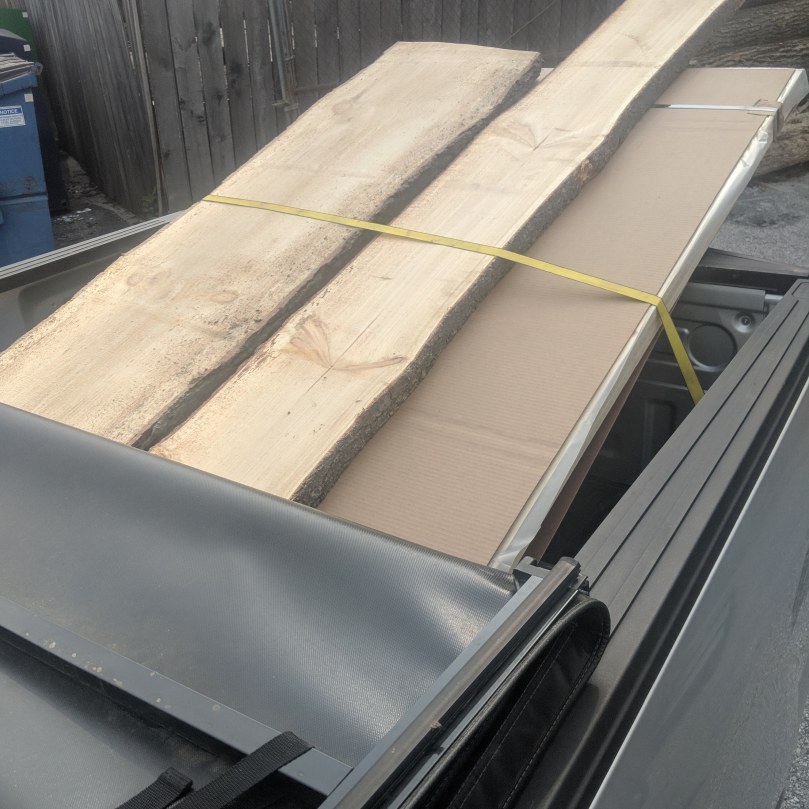
The first thing I did was buy high quality lumber, from a lumber yard. Pictured are sheets of white pine veneered, 3/4 inch plywood and slabs of 2″ thick, locally cut white pine. I ended up needing one extra slab. This stuff is kiln dried; when pine is fully dried, it’s really stable, unlike the hardware store stuff that has to continue drying out. If you absolutely can’t find a lumber yard that carries white pine, you COULD use construction lumber from a hardware store. If you do, buy it a couple months early and let it sit in your basement to dry out. It’ll warp, but better to do it BEFORE you surface everything than after it’s built.
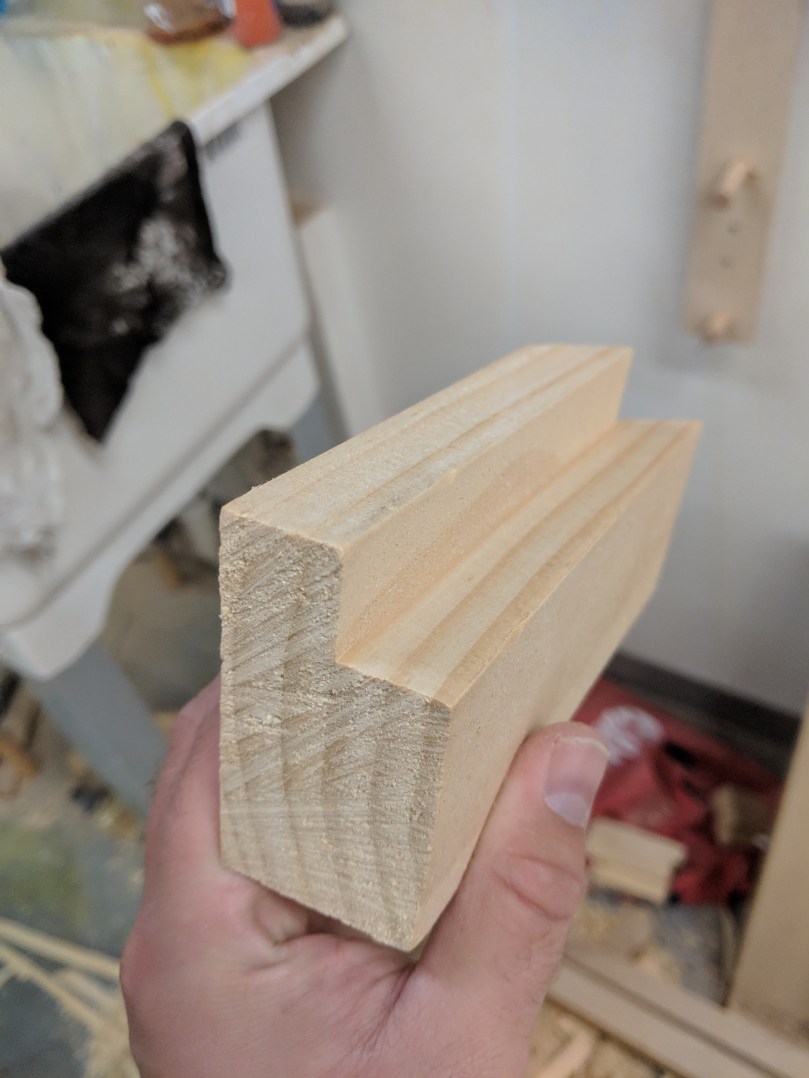
Instead of using pocket screws to create the top, which would cause warping and cracking as the wood moved seasonally, I used the plywood (very stable) as the base. I cut a rabbet cut (which is just a groove that’s on the outside of a board) that the plywood would sit in.
The mitered corners were reinforced with biscuits on the inside of the miter. You could use mails, splines, dominos, etc.
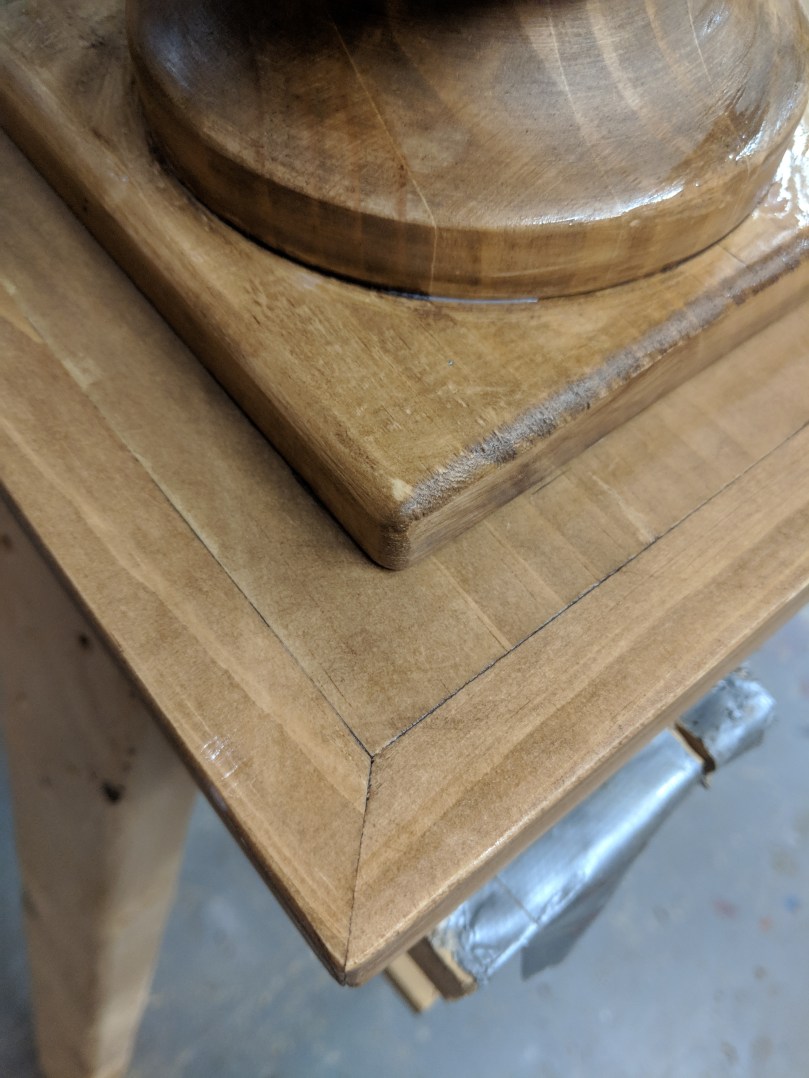
To attach the top to the legs, I put pieces of 4/4 pine on the bottom of each leg, glued, with a single deck screw going in to add extra support. That glue joint has end grain on the leg, which doesn’t hold as well, so the screw gives the glue some added strength. The 4/4 squares are glued to the top and bottom and held with 23 gauge pin nails while the glue dries. Those glue joints are all “long grain” and are very strong.
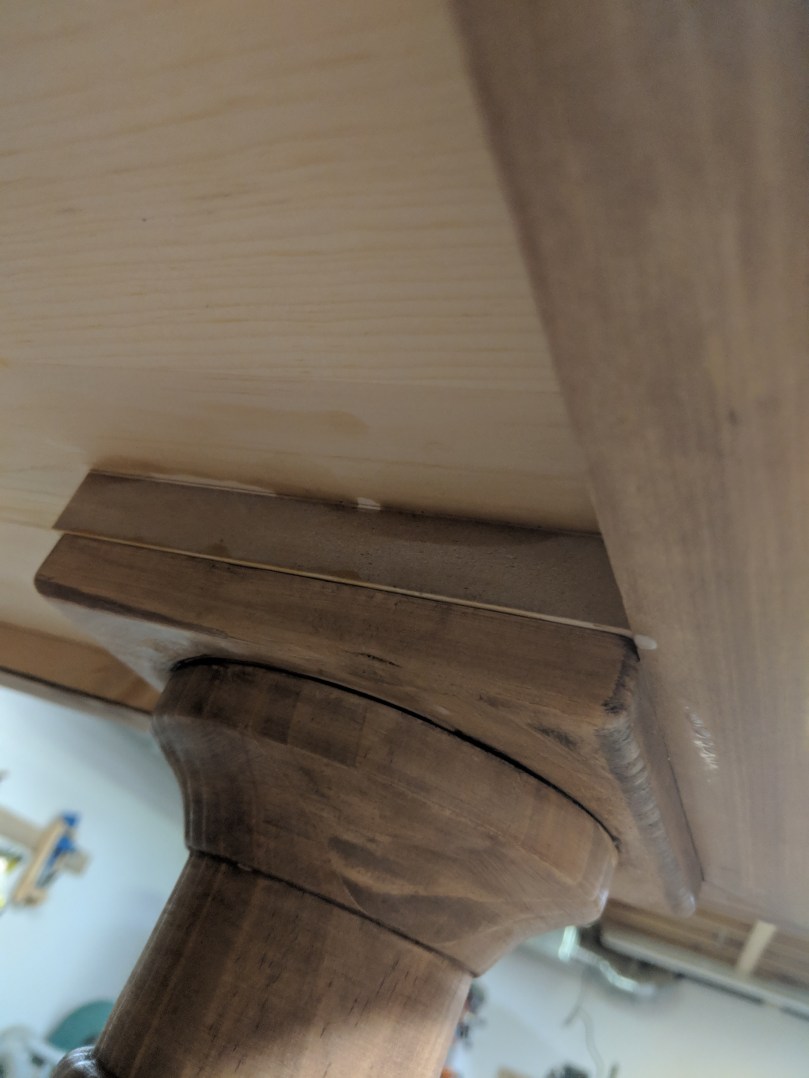
By using scrap MDF pieces to fill in the depth under the tables, I provided a stable basis with a very strong glue surface.
For the stain, I used General Finishes Antique Oak. It’s a water based stain, which reduces the blotching that pine characteristically shows when stained with oil stains. The pockets of pitch and sap in the pine become dissolved by the oil solvents, and you get uneven coloring. With water-based stain and poly, this is almost eliminated.
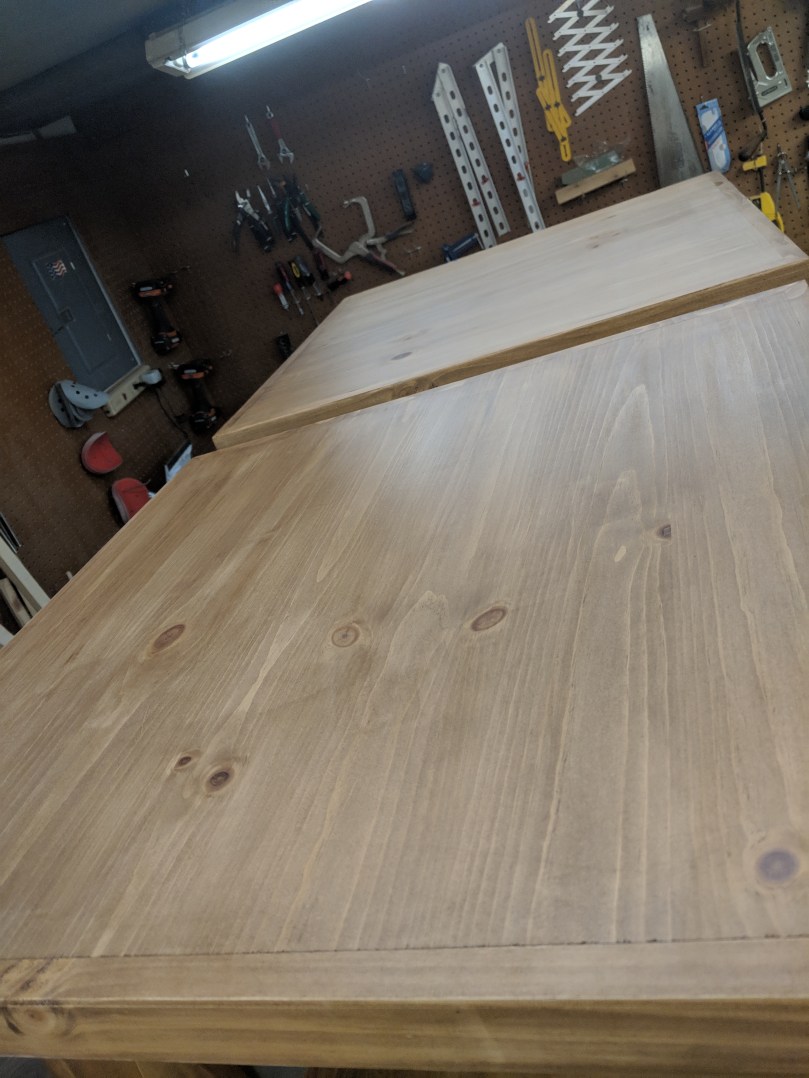
No full walk-through on this one; it was a commission piece, so I don’t give away the full process there. But, these general guidelines will give you a “Shabby Chic” looking table with long-lasting construction techniques.

