
When we left off, I had just rough-cut and planed down some of the persimmon. To get a truly flat, squared piece of lumber, I had to go to the local Woodworker’s guild where I am a member and use two of their machines: a jointer, and a planer. The jointer is a power tool that lets you take a piece of wood and make the face side perfectly flat. You then lay that against the fence and square up the edges. From there, you run it through the planer with your flat side down, and it makes both faces of the board parallel. You can absolutely do this with hand planes, it’s just a lot more time and effort. I didn’t get any pictures of the process, because frankly that was my first time using those power tools and I don’t feel particularly qualified to teach them. But, that’s part of why I joined the guild; a member was able to help me use them.

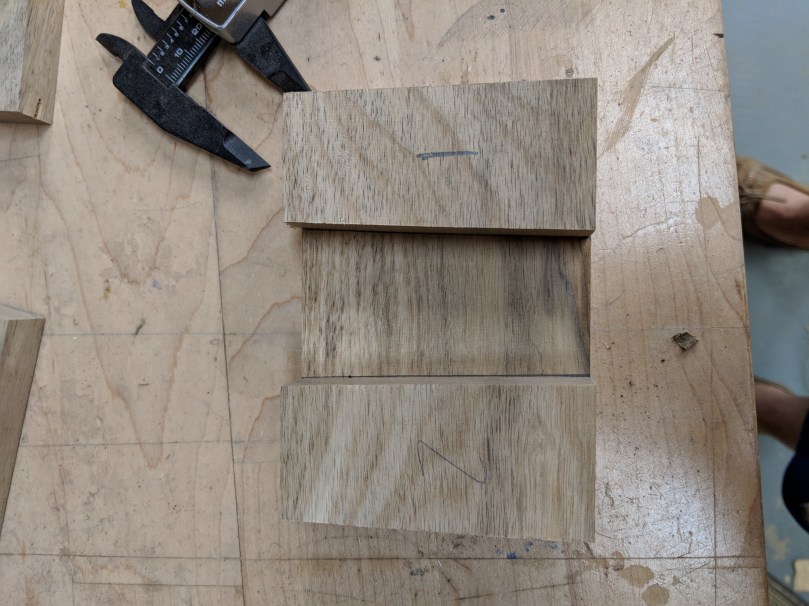
Next, figure out the dimensions you’d like for your mallet. That’s right, we’re making a mallet! This is about 5.5″ long by 3.5″ tall. The thickness of the mallet will be determined by the thickness of our stock. After surfacing, my pieces of persimmon came to 5/8″ thick. I decided to laminate three together for a total thickness of roughly two inches.

What we want to do at this point is create a slot for the handle to go in, and we want to taper it slightly so we can use a set of wedges to hold everything together. Using a 2 degree angle, cut two smaller pieces so that (on the bottom) they leave a 1.5″ centered slot. At the top, because it’s tapered, it will be slightly larger.
Glue those two pieces on and then clamp the heck out of them.

Add a final piece on top once that glue has dried, and this is what it should look like:

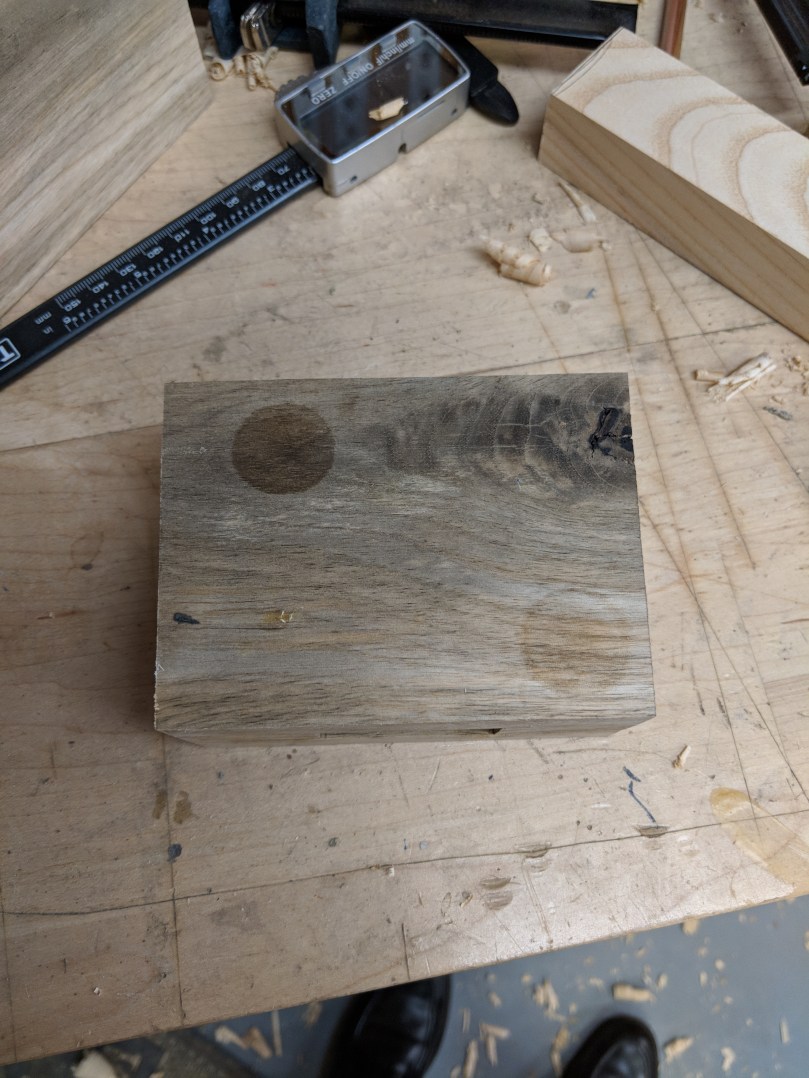
Take the head, and cut a 2 degree angle on each side. Make sure the narrower part of the mallet is the bottom.
Now to start on the handle. I took a nice piece of 8/4 ash and worked it down to 1.5″ x 1.25″ x 14″ long. You can change the length to suit your tastes, and we’re going to shape the handle down so don’t think I’m crazy when you pick this up and it feels way too thick.
On the 1.25″ side, we want to mark a tenon that is 5/8″ wide and centered. Make the tenon as long as the height of the mallet head, plus 1/2″ or so.
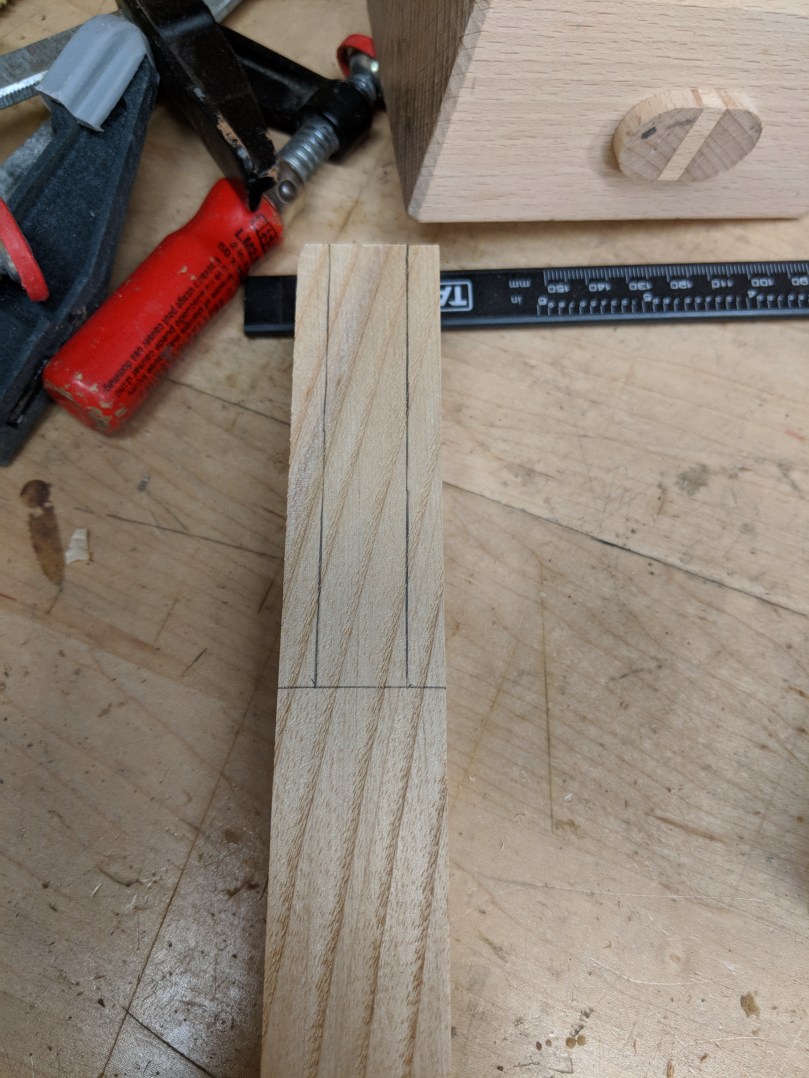

From there, make a rough outline of what you want the handle shape to be. Make sure it remains at 1.5″ at the top for at least an inch down the handle. Using a jig saw, band saw, or coping saw, cut this profile out. I did this before cutting the wedge slots because I didn’t want to damage the tenon after it’s cut.
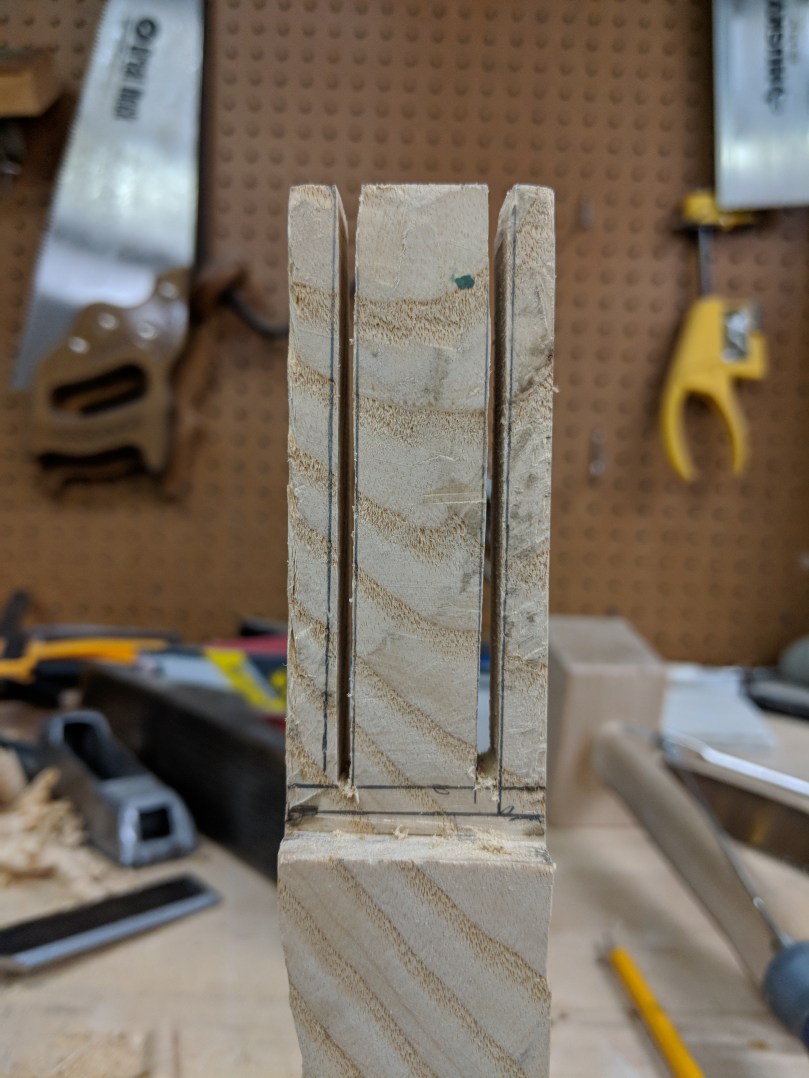
Cut two slots, about 5/8″ in from the front and back of the tenon, and 1/8″ thick. Stop 1/4″ before reaching the bottom of the tenon.
Now, taking a piece of the persimmon, cut a wedge that is 1/8″ at it’s narrowest and slopes 2 degrees, making sure it is about an inch longer than the mallet height.

Apply glue liberally to the tenon and wedges, then insert the handle and slowly hammer the wedges in, making sure to hammer both at the same time.
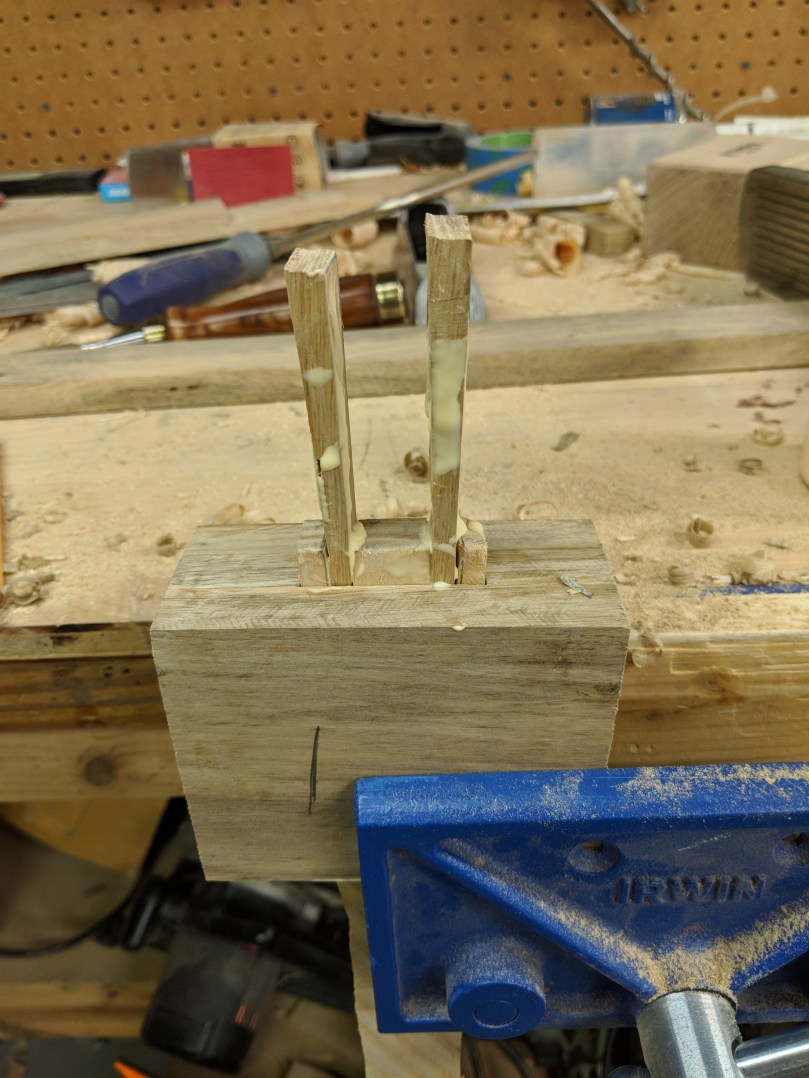
Use a cutoff saw of some sort to cut the wedges and the top of the handle off, and use a block plane or sander to smooth the top.


If I’d had a spokeshave, I would have put a lot more time into this handle. But, it’s pretty comfortable to hold and considering I sanded it using a dremel, I’m fairly pleased.

Finally, apply at least two coats of a penetrating finish like tung oil or boiled linseed oil, and let it dry! This was a gift for a friend, and I forgot to take a picture before my wife wrapped it, but the finish will deepen the color and give everything a really nice feel.
