Thanks for your purchase of the alignment kit! With just a few minutes of assembly, you’re on your way to straighter and more accurate spindle and stretchers.
Step 1:
Using a 1/2” rod of either wood or metal, gently tap one end of the rod into the bottom guide. This rod can be of varying length, generally 12” is suitable for spindle operations, but you may go to 20”+ to accommodate stretcher operations.
*******important note*******
Verify the dimensions of the rod holes in each guide AND the diameter of the rod before assembling. Wood and metal rods can often be oblong or oversized. Any attempt to hammer in an oversized rod WILL shatter the spindle guides.
Step 2:
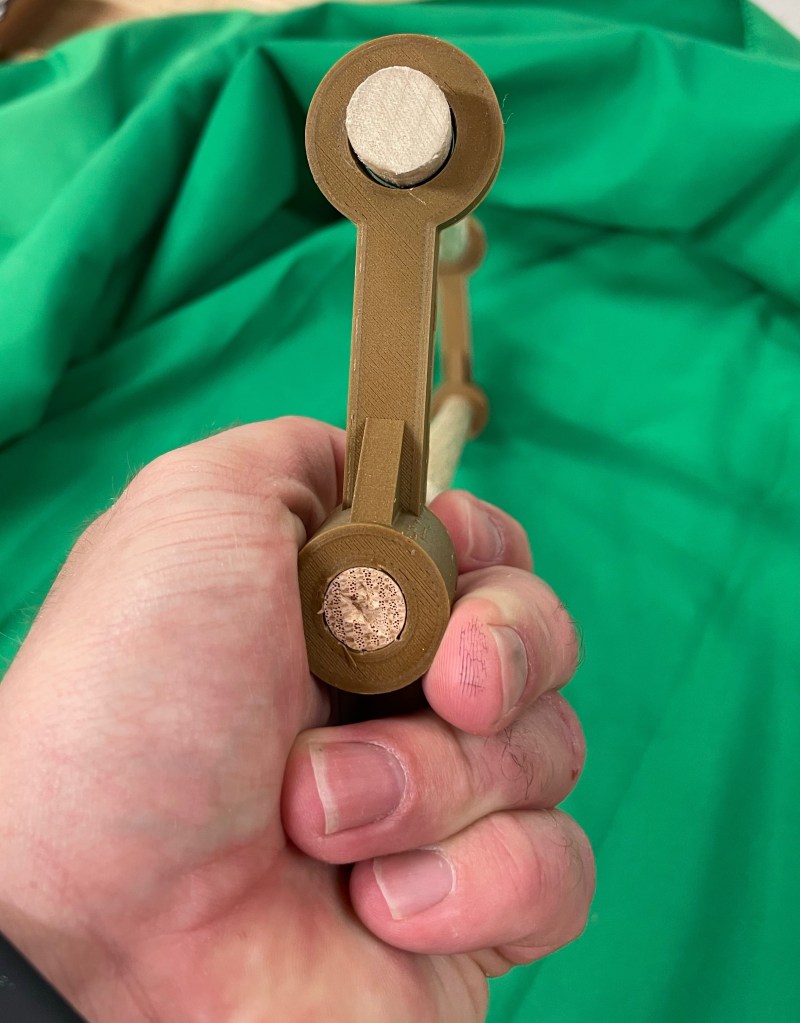
Repeat with top guide (oriented as seen below). You may choose to use a slow setting epoxy or CA glue to adhere the guides to the rod. I have found that the friction fit you can get with a properly sized rod prevents the need for this. Your mileage may vary. If you use a friction fit, you can easily replace the rod to switch between different lengths, whereas an epoxied set would be permanent.
Step 3:
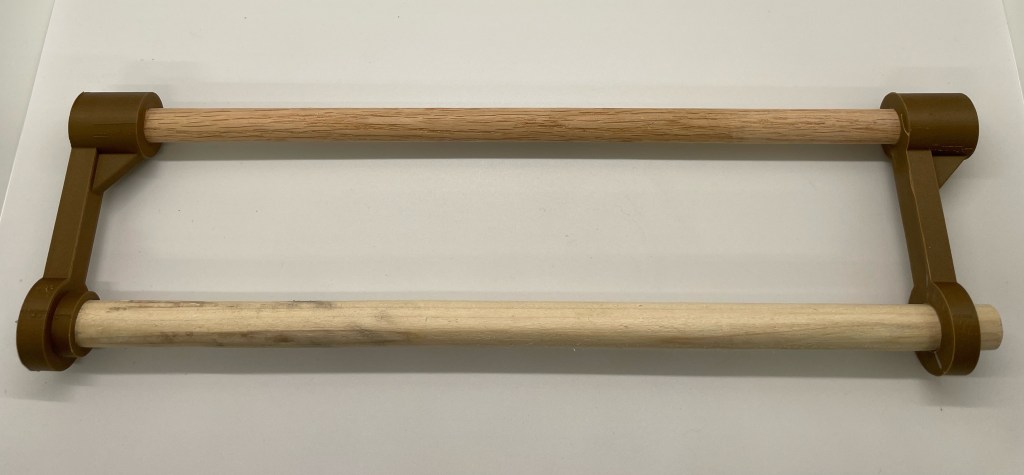
Take a 5/8 inch rod (dowel is adequate) and insert it through the top guide, into the raised ring on the bottom guide. This will help you align the two in a coplanar fashion. Use the sticks like winding sticks to measure for twist. Verify by placing the guide on a flat surface. If the two guides are coplanar, the set will sit flat on the surface without wobbling or rocking.
Step 4:
By hand, screw a #6 screw into the countersink hole in the bottom guide. Length is relatively unimportant, but I find 1.25” gives the right amount of sturdiness and clearance for the guide.
To use the kit, start by marking the holes for each spindle and firmly clamping the arm bow to wooden support jigs (see The Stick Chair Book for further detail).
Place the aluminum Spindle Boss over the shank of your drill bit.

Place the tip of the screw (on the bottom jig) into the spot where the mortise should be on the seat. Insert the drill bit through the top guide until the aluminum boss firmly seats the the guide and the drill point is contacting the location of the corresponding mortise hole on the arm.

The spindle boss should be mostly self-aligning, however differences in the diameter of drill bit shanks may cause some slight slop. Luckily, you can easily use the rod on the guide as a reference for the perfect coplanar angle. The beauty of this system though is that, even if you were to freehand this first mortise and were off by a degree or two, the aluminum boss helps make sure your seat mortise aligns perfectly to match the arm mortise, so slight variances don’t matter between your target and actual angle.
Once you have drilled the arm mortise, remove the guide and then place the drill bit through the arm mortise until the tip contacts the seat mortise location. Gently slide the Spindle Boss down until it is firmly seated in the arm mortise, and drill.

