
I talk a lot in my blog and my tutorial plans about how important it is to get properly dried and acclimated lumber. If you don’t have a large lumber yard that you trust, like I do, how do you make sure what you’re getting will work?
I knock home center lumber a lot on here, but I understand that for a lot of you it may be your only option. The biggest problem with lumber from Home Depot, Lowes, and Menards is that it’s kiln dried to general construction standards. That can mean it’s “dried” but only to about 20% moisture content. In a house, where the entire frame is nailed and screwed with large fasteners and hidden behind drywall, you’ll never notice or care if the wood shrinks or cracks. In furniture, it makes a huge difference.
Here are links to two amazing (but incredibly technical) resources on wood movement.
Click to access chapter_04.pdf
Click to access chapter_13.pdf
I’ll summarize the main ideas as it relates to this recent bargain load of lumber I got.

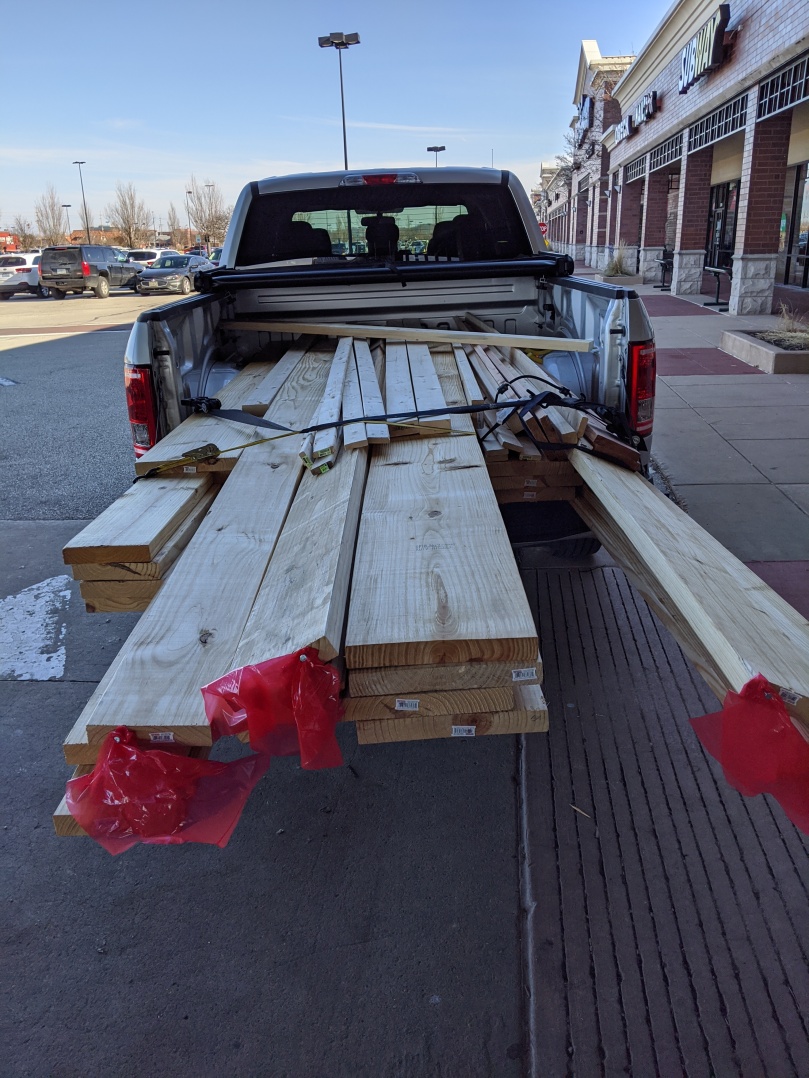
Lowes had this entire cart of mostly yellow pine for about $22. They graded it as mostly “unsuitable for use.” We woodworkers know better. While warped and knotted, this would be the perfect wood for a workbench. A few trips on a jointer and planer and it would be indistinguishable.
They told me, from the get-go, that they’d accumulated this lumber over the course of a few months. I had a suspicion then that it had already done most of its acclimating. But, there was also an easy way to verify it.
I took the lumber home, let it sit a week, and then tested it with my moisture meter. Every piece registered right about 7-8% moisture. Using the resource above, and knowing that my humidifier keeps my house consistently between 30-40% moisture, I know that the wood is already at equilibrium in my home. Perfect!
But what if it weren’t? If I bought all brand-new yellow pine, I’d expect it to be about 20% moisture. The USDA chart tells me the tangential coefficient is about 0.0026 for long-leaf pine. So, as the moisture content drops to 7% from 20% (a 13% difference) , I can expect my 2×12 to shrink by 13 x .0026 x 11.5″= 0.3887 inches, or about 3/8ths of an inch!
Is 3/8ths of an inch a big deal? Absolutely, especially when combined with bad DIY building technique that constrains the wood. Lets say you made a kitchen table using popular DIY plans. It’s 40″ wide yellow pine, and you took it straight from the shelf, screwed four boards together, and used Kreg screws to fasten it on all sides to the table base.
Using the calculations above, we know the wood is going to move. In this case, you have 13 x .0026 x 40″ of movement, or 1.35 inches! In other words, by doing absolutely nothing but sitting there, your table will become 1.35″ narrower in a matter of just a few months.
OK, so who care’s about an inch of width though? Will your dinner party be any less comfortable with a 39″ wide table? Well, because you fastened the table-top to the base with a rigid system of nails, as the wood tries to shrink it’s not going to be able to do so; the screws holding it to the table apron won’t let the boards shrink. Instead, either your table will warp substantially as the wood curls in on itself, or you’ll get large cracks in the top as the wood violently splits at its weakest points.
Truth be told, even if you DID use proper table fasteners, like figure-eights or z-clips, I’m not sure they could help with a 1.35″ degree of shrinkage.
Here’s a fine assortment of examples from the web of people that were burned by wood movement:


So, if the only option you have is to use lumber from Home Depot or Lowes, get yourself a $30 moisture meter. When you select your lumber, bring it with you and pick the driest boards you can find. Then, let them sit until they’re at LEAST 10% moisture, preferably less, before you work with them. It takes patience, and planning, but it’s much better than putting time, effort, and money into a project that ends up like the ones above.


Do you have a showroom? Thanks
LikeLiked by 1 person
Hi Susan! All of my pieces are custom made to order, but I’d be happy to talk about your needs and design ideas! Dibwoodworkingllc@gmail.com
LikeLike
You can also view my portfolio at edelweisswood.com!
LikeLike